In this blog post, I will show you how to install NodeJS 13.8.0 and Node Package Manager (NPM) in Windows 10.
Node.JS is a popular server side scripting language which is based on JavaScript V8 Engine. As you know, JavaScript runs and restricted to a web browser. NodeJS is a enhanced version of JavaScript in which new capabilities were added to the language so that it can run on a server. To its core it is JavaScript programming language with added features that makes it possible to executes scripts on a server.
Good thing about NodeJS is that it is based on JavaScript. If you know JavaScript, you can become a full stack developer easily by upgrading your skill by learning NodeJS.
Installation options
You have two ways to install Node.js on your computer.
- Normal Windows installation using .msi installation file
- Extract the .zip file and run the executable
NPM, node package manager will be installed by default and a part of node installation process. You install node and you will get NPM by default.
So lets take the first step by installing NodeJS on your computer. Starting point is visiting NodeJS official website.
Visit NodeJS official website
This is the starting point and the official website. Currently, home page has the download link.
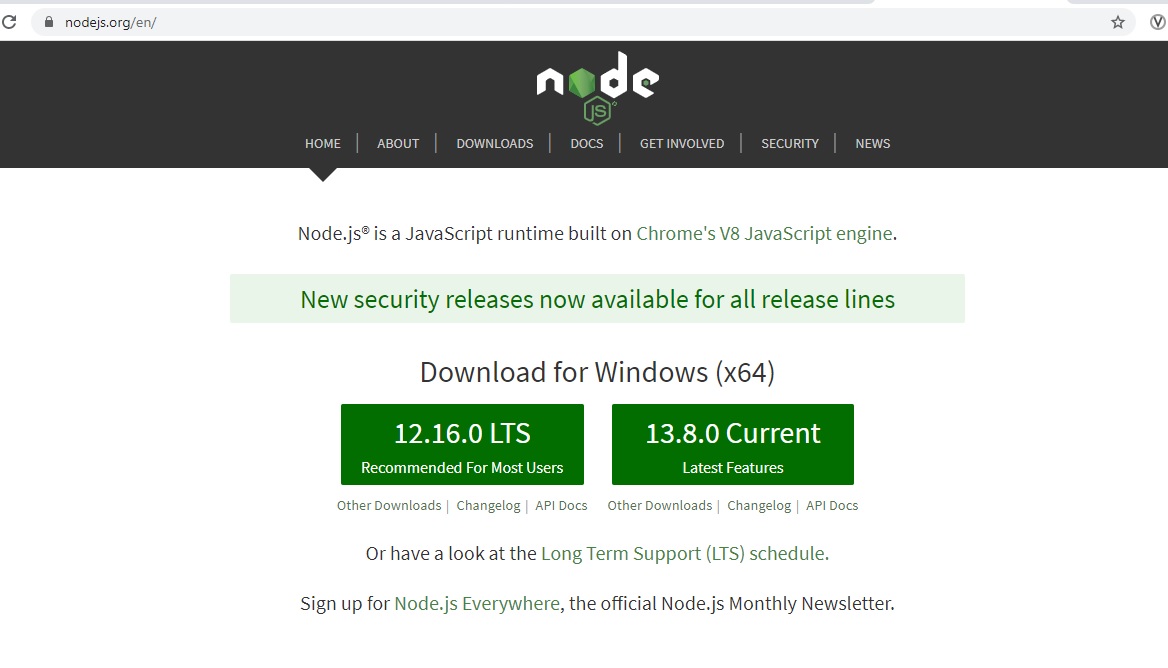
NodeJS Official Website
Lets explore the download page and get the setup files from there. This way you can see the other alternatives also.
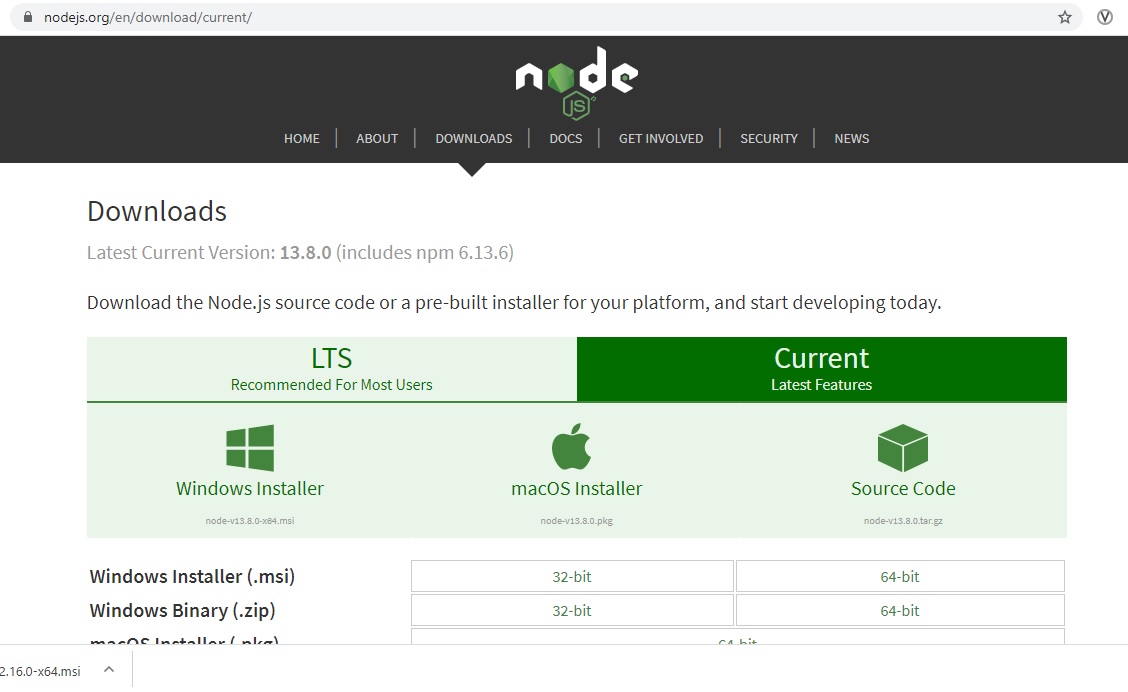
NodeJS official download web page screenshot
Which file to download?
There are various options available for file download.
LTS vs Current release – which one you should choose?
LTS stands for long term support and the most stable release. You should choose this if you are deploying your application to the production environment.
Current release is the future LTS release which is still under development can have bugs and not recommend for production deployment. Its good for local installation and for testing out the new feature.
Normally for local development work I would choose the current release.
Go ahead and go to the current release tab download the file.
Download both the files, .zip version and the .msi version. Choose 32 or 64 bit based on your computer architecture.
We will use the .zip file to setup Node.js by extracting the files and executing it from command line terminal. File with extension .msi is the usual Windows 10 Installer.
Which option should you use to install Node.js?
Option 1 – Setup by running the .msi installation file
- Its a typical Windows installation and automated.
- No need to add entries in environment varaiable
Option 2 – Setup by extracting .zip file
- This method does not require admin access and can be used to install on nodejs on a system on which you dont have admin access such as you official laptop or desktop.
- Removing nodejs is as simple as deleting the folder.
- You will have to add entries in environment variable if you want to execute node command from any location in windows command prompt.
You can choose which option to follow, I will describe both the options below:
Option -1 – Install using Windows .msi installer
Step – 1 – Download the .msi installer file
Download the installer file from the download page. Its will be of the file name, something like, node-v10.15.1-x64.msi, where x64 means that the installer’s target platform is 64 bit machines and v10.15.1 is the version that will be installed.
Step – 2 – Execute the .msi installer file
Run the installer by double clicking on it. Accept the UAC warning if you see it, which would be something like, “Would you like the installer to make the changes to your system”. Click on yes to continue with the installation process.

Windows installer preparing to install message screenshot
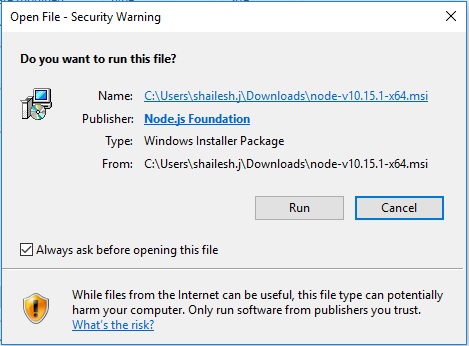
NodeJS windows installation – security warning screenshot
Click on run to continue. This warning is the standard windows security warning for files downloaded over the internet.

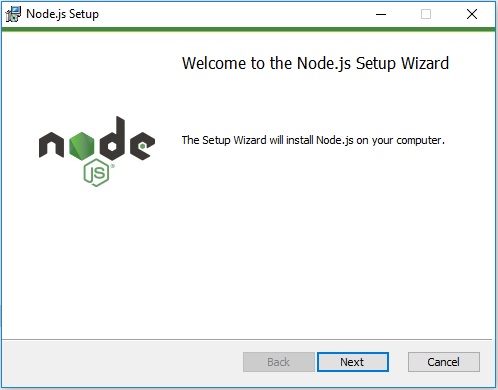
NodeJS windows installation wizard
Click on next to continue
Step -3 -End user Licence agreement
Accept the end user licence agreement by clicking on the check box and clicking on next
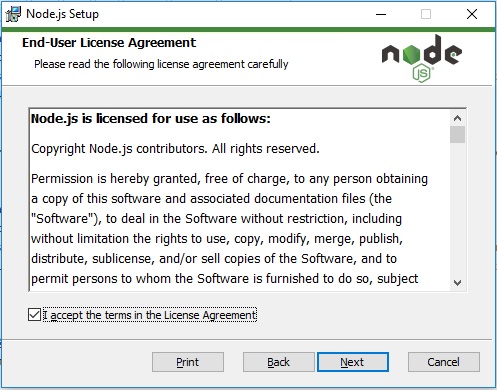
NodeJS installation – End user agreement screenshot
Step – 4 – Select destination folder
You will have to select the destination folder, I normally accept the default. Click on next
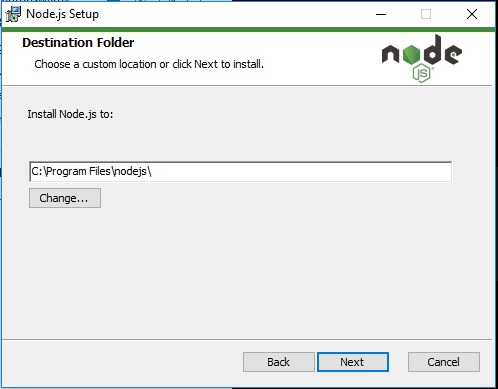
NodeJS installation – Choose destination installation folder
Step – 5 – Custom Setup
Here you will have the option to change the features that will be be default. Accept the defaults by clicking next. I normally accept the defaults.
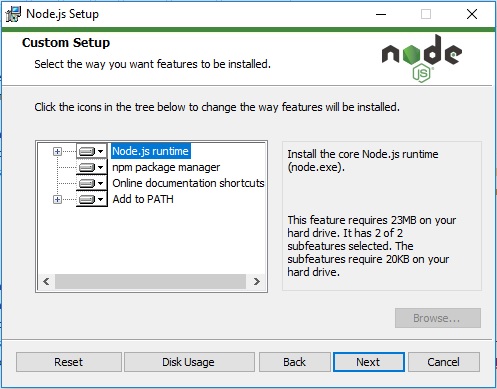
NodeJS Installation – Custom setup window screenshot
You will be asked if you want to install Tools for Native Modules. I normally leave it as it is Unchecked.
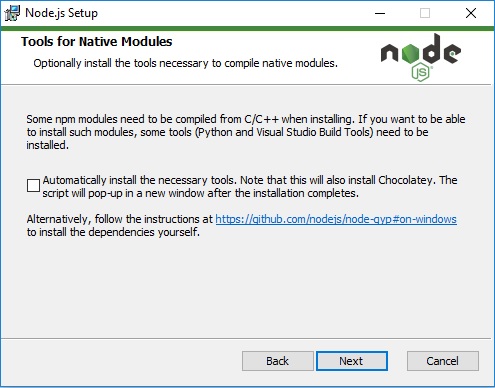
NodeJS installation – Tools for Native Modules Option
Step – 6 – Ready to install
Now you will see ready to install window. Click install to proceed.
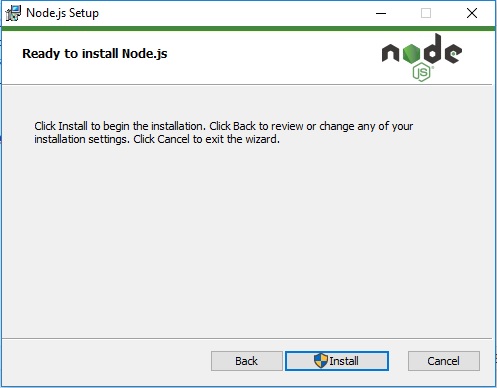
NodeJS Installation – ready to install window screenshot
You will see the installation begin. Wait for the process to complete. At the end you will see installation complete message.

NodesJS installation progress window screenshot
At the end you will see installation complete message. Click finish to complete the process, This will have Node.js installed on your system and ready to use.
NodeJS installer – Installation complete message
Step – 7 – Check version of installed Nodejs
Open terminal and use the command node -v to check the version of installed nodejs.
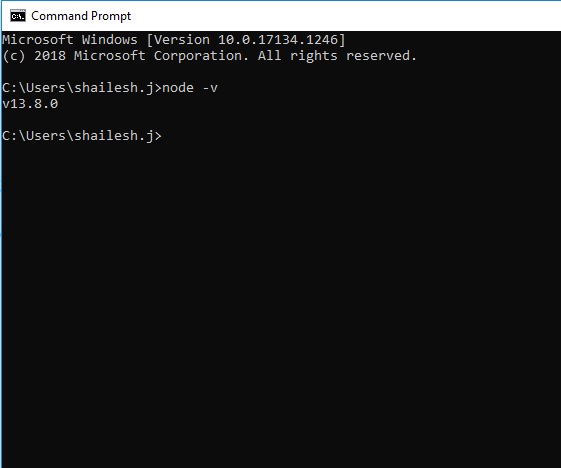
Nodejs – check version from command line
Option -2 – Install using extracting the .zip file
This is pretty straight forward process.
Step – 1 – Download the zip file
Download the .zip file from the official site.
Step – 2 – Unblock the file
Windows 10 blocks the files you have downloaded from internet by default for security reasons. Sometimes when you extract these blocked files, all the extracted files are also blocked and will not execute. Its better to unblock it before extracting it.
Right click on the downloaded zip file and click on properties. Check unblock at the bottom and click OK.

NodeJS zip file blocked
Step – 3 – Extract the downloaded file
Extract the download .zip file which will have the name something like node-v13.8.0-win-x64.zip, to any folder such as c:/nodejs.
You can use 7zip or Windows default unzip program. To use the windows default unzip program, right click on the zip file and select Extract All.
Step – 4 – Execute Nodejs command from command line
Now you can execute nodejs code using the command line. For this you will have to go to the extracted file root folder. for example C:\nodejs and execute the command from command line.
cd C:\nodejs
node -v
Step – 5 – Add nodejs folder to path (optional – you need admin access)
Alternatively, if you want to run the node command from anywhere, its better to add it the path variable. This is how you would do it.
Go to advanced setting
Search advanced setting in the taskbar search pane. Click on view advanced system settings.
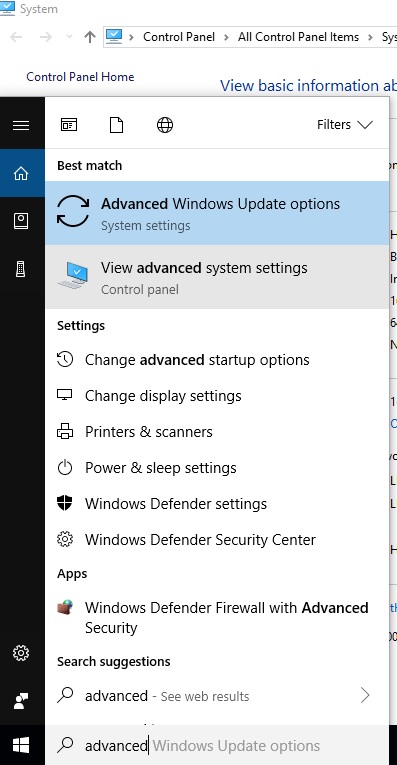
Windows 10 taskbar search – advanced settings
You will see System properties window. Click on Environment variable.
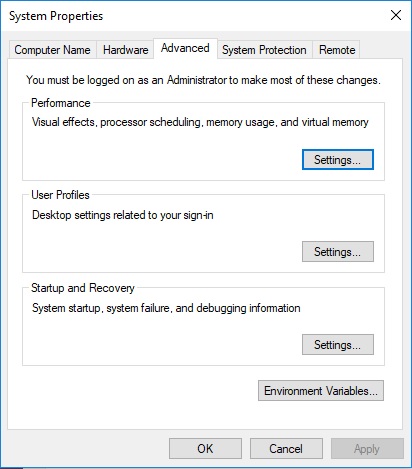
Windows OS – System properties window
Add to path variable
Under System variable – click on path and click edit
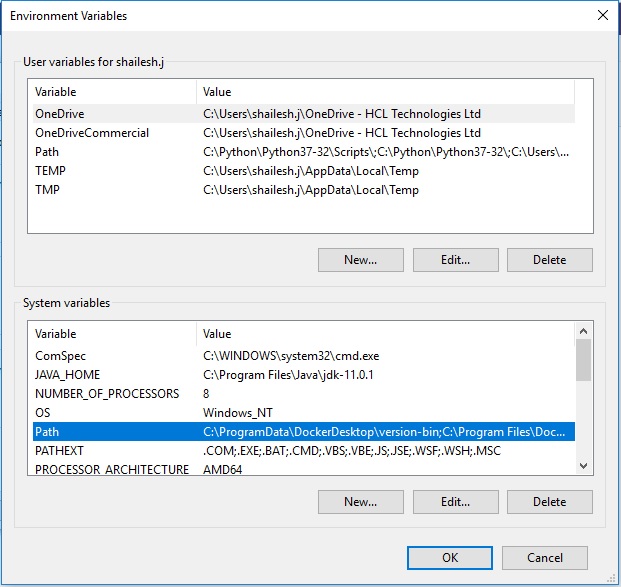
Windows 10 – Environment variable
Click on New, and add the nodejs directory path such as c:/nodejs. This will change based on where you have extracted the file.
Click on ok continue and exit.
Now you can run nodejs command from any where.
Check the version of NPM installed
Go to windows terminal cmd or powershell and run the command
npm -v to check the version of NPM installed.
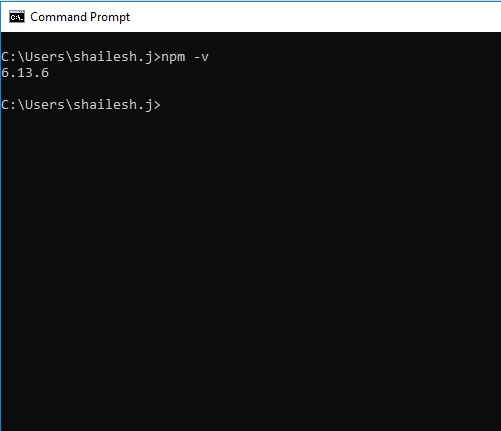
NPM version in windows command line terminal
That’s it, now you have nodejs and npm installed on your system.
Thanks you…