In this post, I will show you how to install Kubernetes on windows 10 using Docker. This can help you get a hands on experience on the Kubernetes platform. Today Kubernetes is the industry standard in container orchestration. If you plan to develop Cloud Native applications, you mush have a very good understanding of the container technology such as Docker and the associated orchestration platform such as Kubernetes. There are other container orchestration such as Docker Swarm which is not used much in production environment.
If you are looking for production grade Container Orchestration platform, Kubernetes is the best option available currently.
Production grade Kubernetes cluster is difficult to maintain and mostly deploy on on-premise infrastructure. Managing such infrastructure requires experts who would manage these Kubernetes clusters.
One of the popular option is to use is to use Managed Kubernetes services offered by AWS which is Amazon EKS, on GCP it is GKE and on Azure, Azure Kubernetes Service (AKS) which is managed by the cloud providers. This removes the necessity to have a dedicated infrastructure team to manages the resources.
I found this to be the easiest way to setup Kubernetes on your local system. To get started, install Docker on your Windows machine.
Lets get started:
Step 1 – Setup Docker
To get started, we need to install Docker first. To install Docker on Windows 10, Please follow my post here.
Step 2 – Setup Kubernetes as a Docker container
After Installing Docker, now we have to setup Kubernetes. Docker now comes with Kubernetes and all we have to do is to enable it.
I have used Docker 2.2.0.3 for this setup as shown in the below About Docker screenshot.
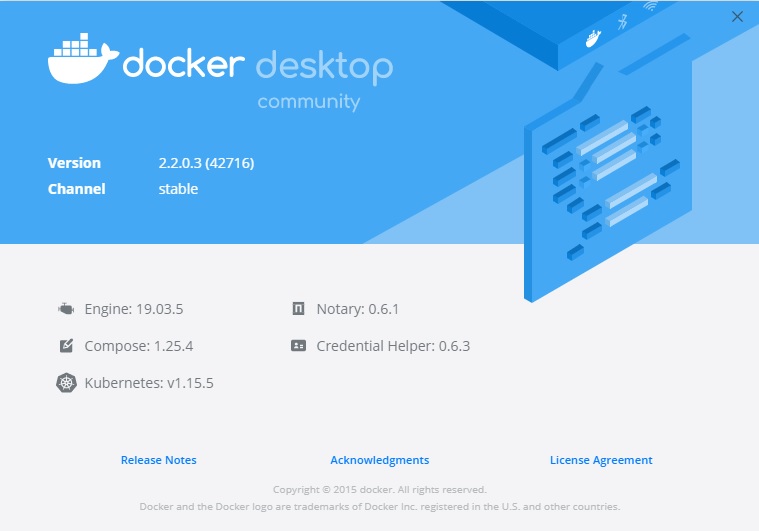
Docker Installation details
To enable Kubernetes, Go to Docker Settings -> Kubernetes
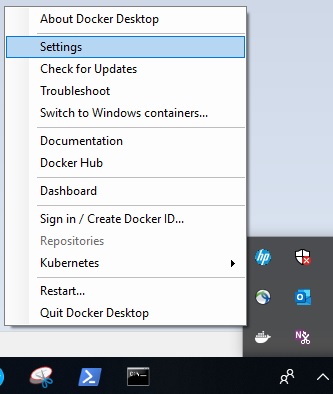
Docker Settings
This will open the settings dialog box. Check all the options as shown below. Click on Apply and restart.
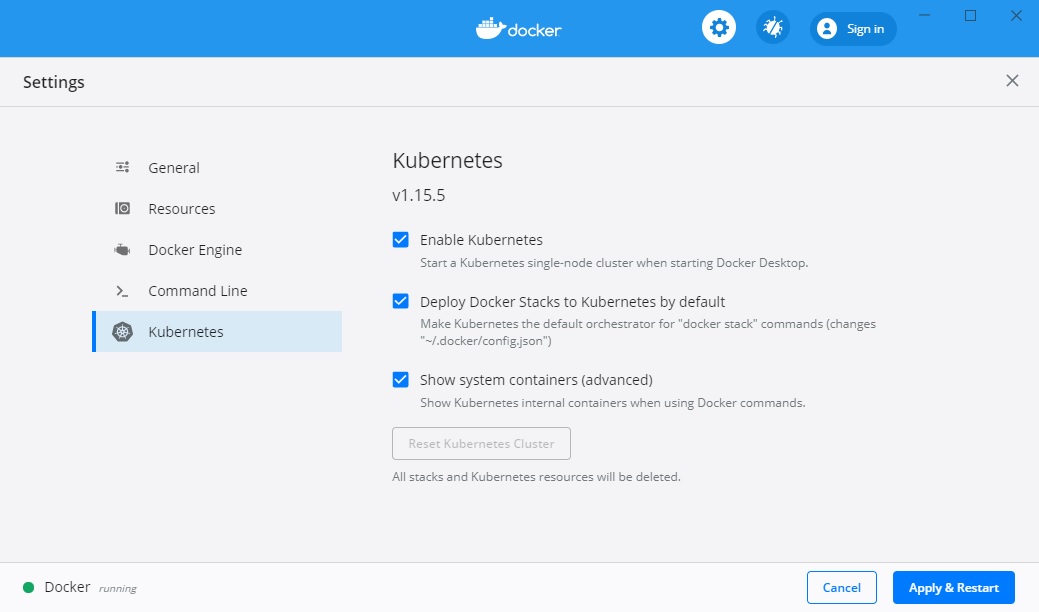
Docker settings – Kubernetes
Once you click on Apply and Restart, Kubernetes setup process will start as shown in the below screenshot. Wait for the process to complete.

Docker – Kubernetes setup progress
Once the process completes, you will see docker and kubernetes running as shown in the below screenshot.

Docker and Kubernetes running status
To test that Kubernetes was setup successfully, run the following command in Powershell or command prompt
kubectl version
You will see the response as shown in the below screenshot. Make sure that you see the responses for both Client version and server version. Only then kubernetes is working successfully.
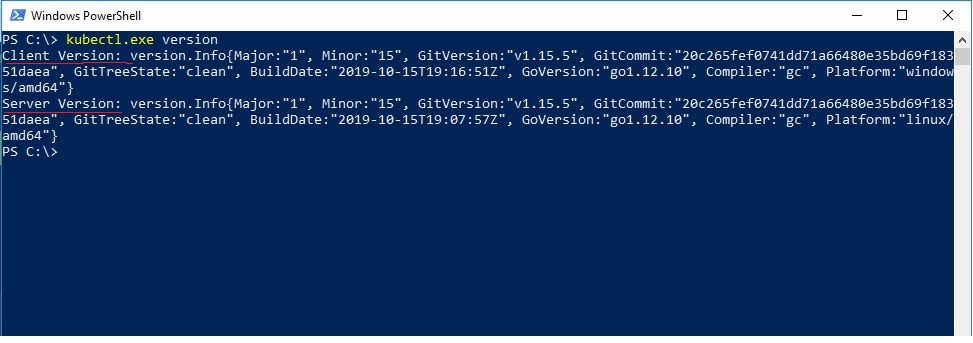
Powershell – kubectl version check
If you don’t see the response as shown above, make sure that the context is set to docker-desktop. To set the context, Right click on the docker icon on the taskbar as shown below in the screenshot -> Kubernetes
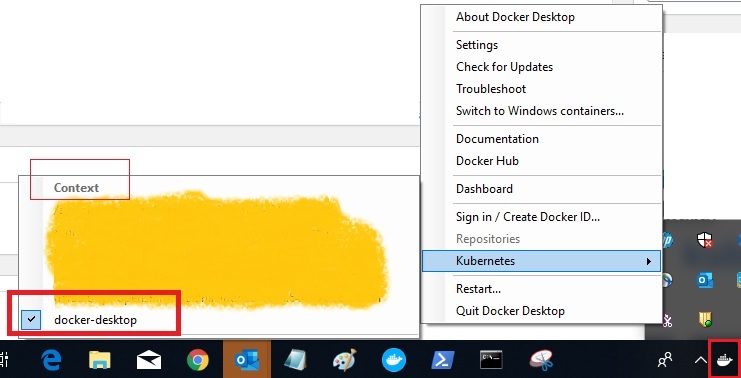
Docker – Kubernetes context setting
Step 3 – Enable Kubernetes dashboard
Kubernetes dashboard provides you with the web based interface where you can
- Overview of the cluster
- Deploy application to the cluster
- Troubleshoot running applications
- Manage resources
- Get information about the state of the running resources
- Get resource matrix
Kubernetes dashboard is not deployed by default. You will have to deploy it by running the following command in command prompt or powershell.
.\kubectl.exe apply -f https://raw.githubusercontent.com/kubernetes/dashboard/v2.0.0-beta8/aio/deploy/recommended.yaml
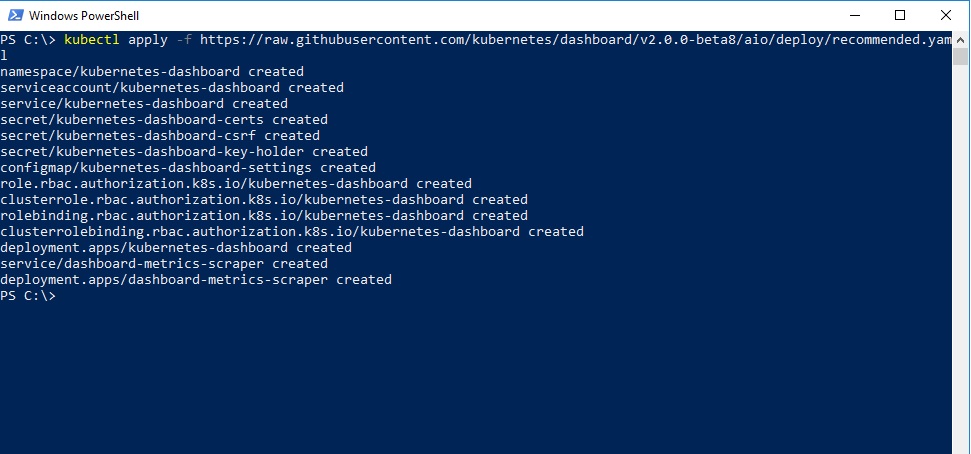
Deploy Kubernetes dashboard
To access the dashboard run the command:
kubectl proxy
This is the output you will get:
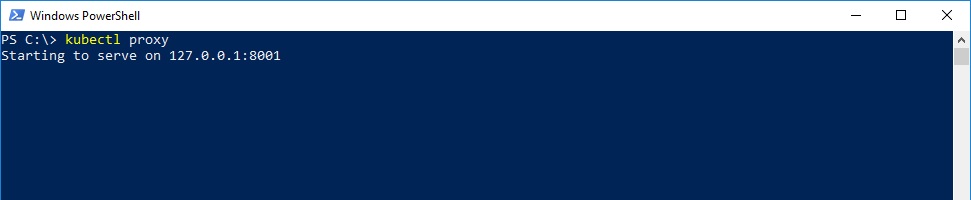
Run kubernetes proxy command
Now access the URL of the dashboard at:
http://localhost:8001/api/v1/namespaces/kubernetes-dashboard/services/https:kubernetes-dashboard:/proxy/
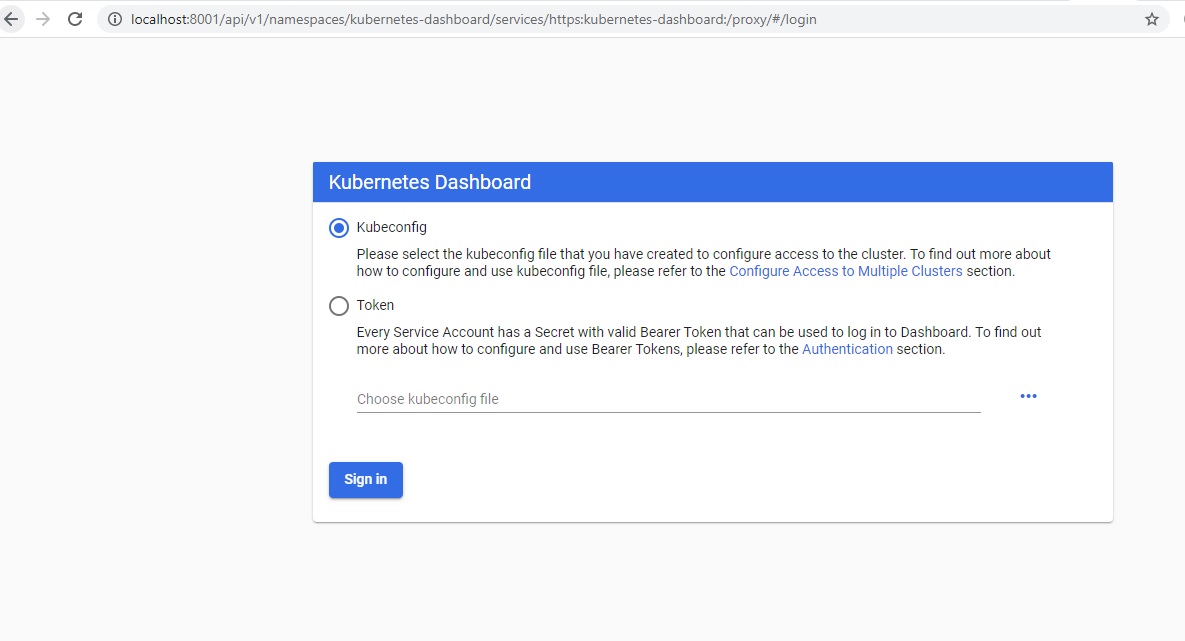
Kubernetes dashboard
But before you access the dashboard, you will have to create a service account for admin user and create cluster role binding.
Step 4 – Create Service account for admin-user
Create a file and name it as dashboard-adminuser.yaml and copy and paste the below code and save it at a convenient location. I stored it in desktop.
apiVersion: v1
kind: ServiceAccount
metadata:
  name: admin-user
  namespace: kubernetes-dashboard
Go to desktop or the folder in which you have stored the file in powershell or command prompt and run the following command:
.\kubectl.exe apply -f .\dashboard-adminuser.yaml
This is the output you will get.

kubectl – create service account and admin user using powershell
Step 5 – Create Cluster Role Binding
Now we will have to create Cluster Role Binding. Copy the below line of code and save it in a file dashboard-adminuser_cluster_role_binding.yaml
apiVersion: rbac.authorization.k8s.io/v1
kind: ClusterRoleBinding
metadata:
  name: admin-user
roleRef:
  apiGroup: rbac.authorization.k8s.io
  kind: ClusterRole
  name: cluster-admin
subjects:
- kind: ServiceAccount
  name: admin-user
  namespace: kubernetes-dashboard
Go to desktop or the folder in which you have stored the file in powershell or command prompt and run the following command:
.\kubectl.exe apply -f .\dashboard-adminuser_cluster_role_binding.yaml
Below is the output of running the above command. Since I had already created it, you will see unchanged in the output. In your case, you will see created instead of unchanged.
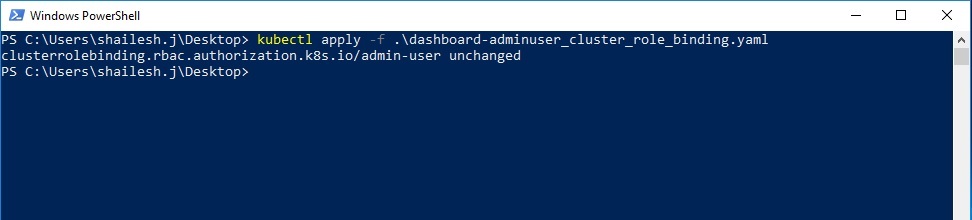
kubectl – create cluster role binding for admin user
Step 6 – Find Bearer Token to Login
Now we will have to find the bearer token to log in. Run the following command from Powershell:
.\kubectl.exe -n kubernetes-dashboard describe secret $(.\kubectl.exe -n kubernetes-dashboard get secret | sls admin-user | ForEach-Object { $_ -Split '\s+' } | Select -First 1)
Copy the token from the output. We will use this to login.
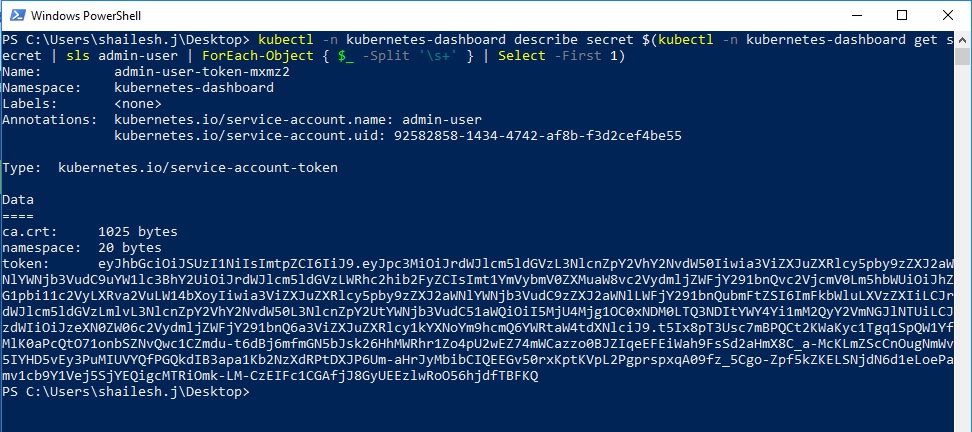
kubectl – find bearer token using powershell
Step 7 – Login using Bearer Token
Select Token in the Kubernetes UI dashboard and paste the token and click signin.
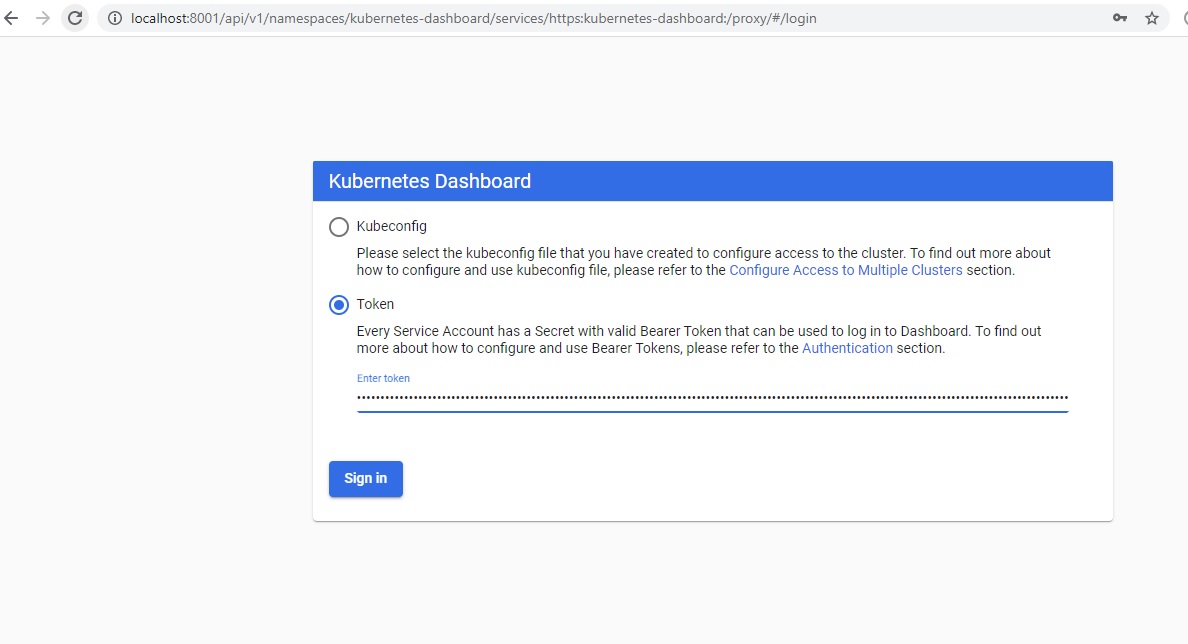
Kubernetes dashboard – Sign in with token
Once you Sign in, you will see the dashboard.
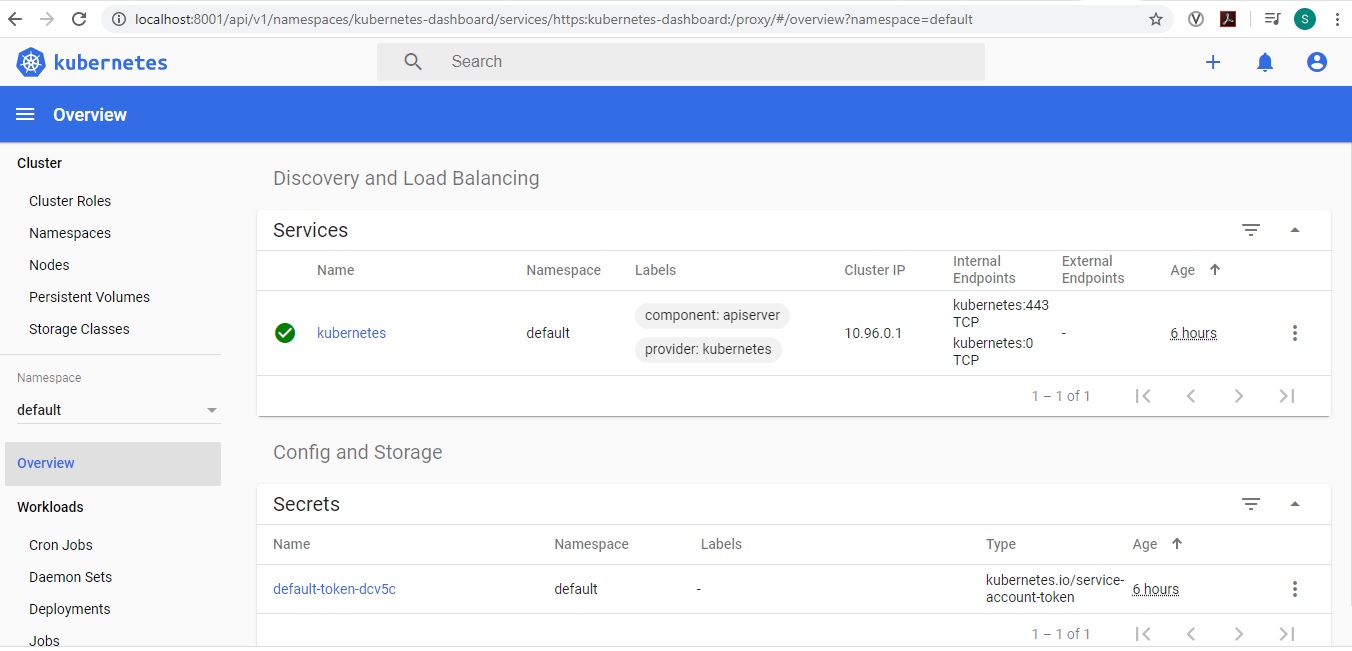
Kubernetes dashboard UI screen
That’s it, thanks for visiting my Blog.

Wonderful blog with detailed steps. Thank you Shailesh.
thanks!! this was perfect, just what I needed so I wouldn’t waste a good Sunday chasing my tail.