Microsoft has released the latest version of its flagship IDE – Visual Studio 2019. Visual Studio is probably the best IDE available for application development on the Windows platform. Microsoft has made .NET as cross platform. As such you can use Visual Studio 2019 to develop application for Windows as well as Linux platform. Visual Studio also has inbuilt cloud support for Azure platform. For other cloud providers such as AWS, there are SDK available which can be installed using Nuget package manager.
Just so you know, Installing Visual Studio 2019 takes a long time because it is bundled with lots of components. The installation can take around 1.5 to 2 hours depending on your internet speed and the components you have selected to install. If you want to install the enterprise version with all its components, typical time is around 2 hours.
I have a YouTube Video, please take a look
Lets get started 🙂
Step 1 – Download and install Visual Studio installer
This is pretty straight forward. The way it works is that you have to first install the Visual Studio Installer. After it installs, Run it and select the individual or all of the components to install.
Visual Studio 2019 is huge. There are no official offline installers but Microsoft has provided ways to get the offline installation files and it all starts with the web installer.
I would recommend using the web installer as it is way more simpler. With web installer you also have the option to download the offline installation files first and then install.
Please note that these offline installation files downloaded using the web installer can be used to install Visual Studio on the same computer on which it was downloaded. In case you you want to download the offline installations file to install Visual Studio on multiple computers, you have to use the command line utility provided by Microsoft. In this blog we will be using Web Installer only.
Download Visual Studio Installer 2019 from here.
You have three options, Enterprise, Professional and Community Edition. Community Editions is free to use while the other two requires licence. Since the process to install any of the version is the same, I will show you how to get setup with the Enterprise Edition so that you can play around with some premium features of Visual Studio.
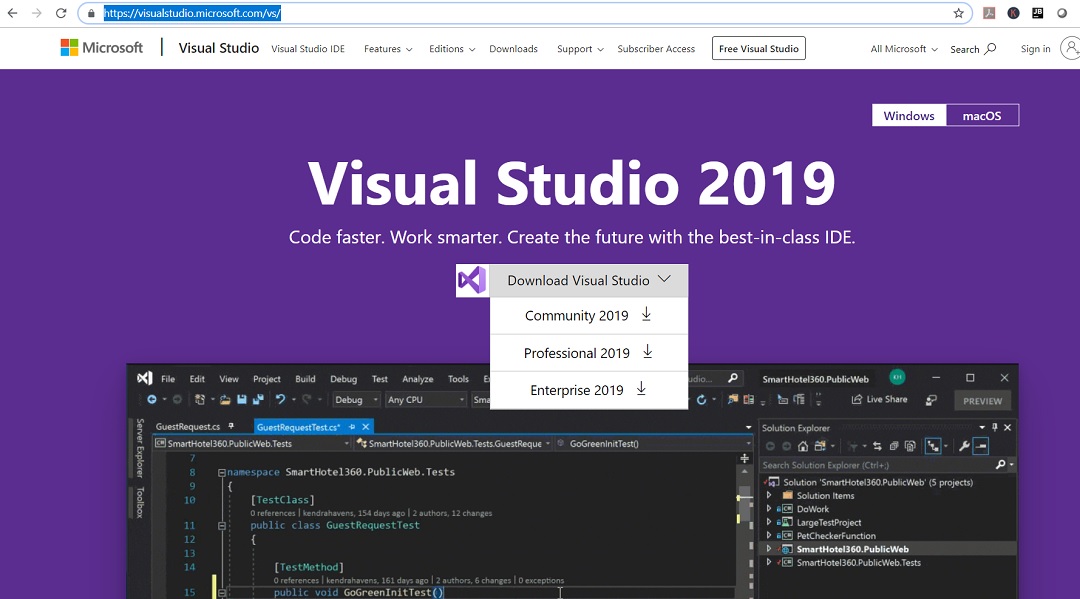
Visual Studio 2019 – Official Web Page
The downloadable file is small and around 1.3 MB. It will have the filename something like this vs_enterprise__731473621.1557687459.exe based on the version of the file you have downloaded.
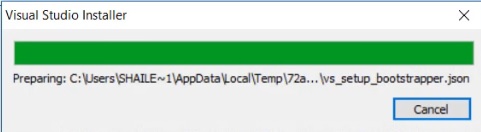
This will install the Visual Studio Installer and from there on the process is pretty simple. Select what components you want to install and have lots of patience and wait for the process to complete.
Step 2 – Install Video Studio Installer
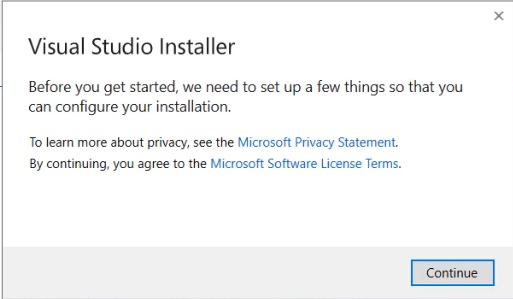
The process is pretty straight forward. Double click on the installer file to start the installation process. Below are the screenshots of the installation process.
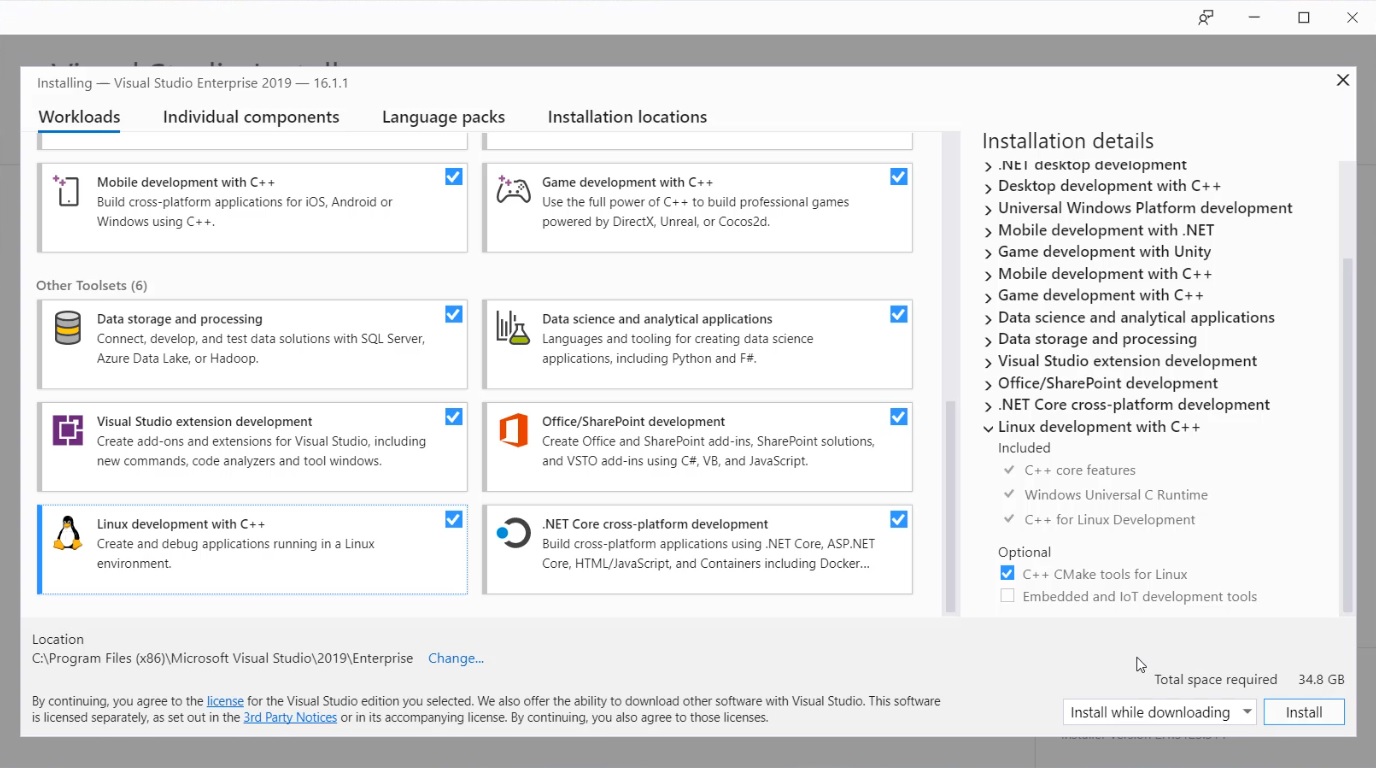
Select the components you want to install. You have to click on the checkbox to select.
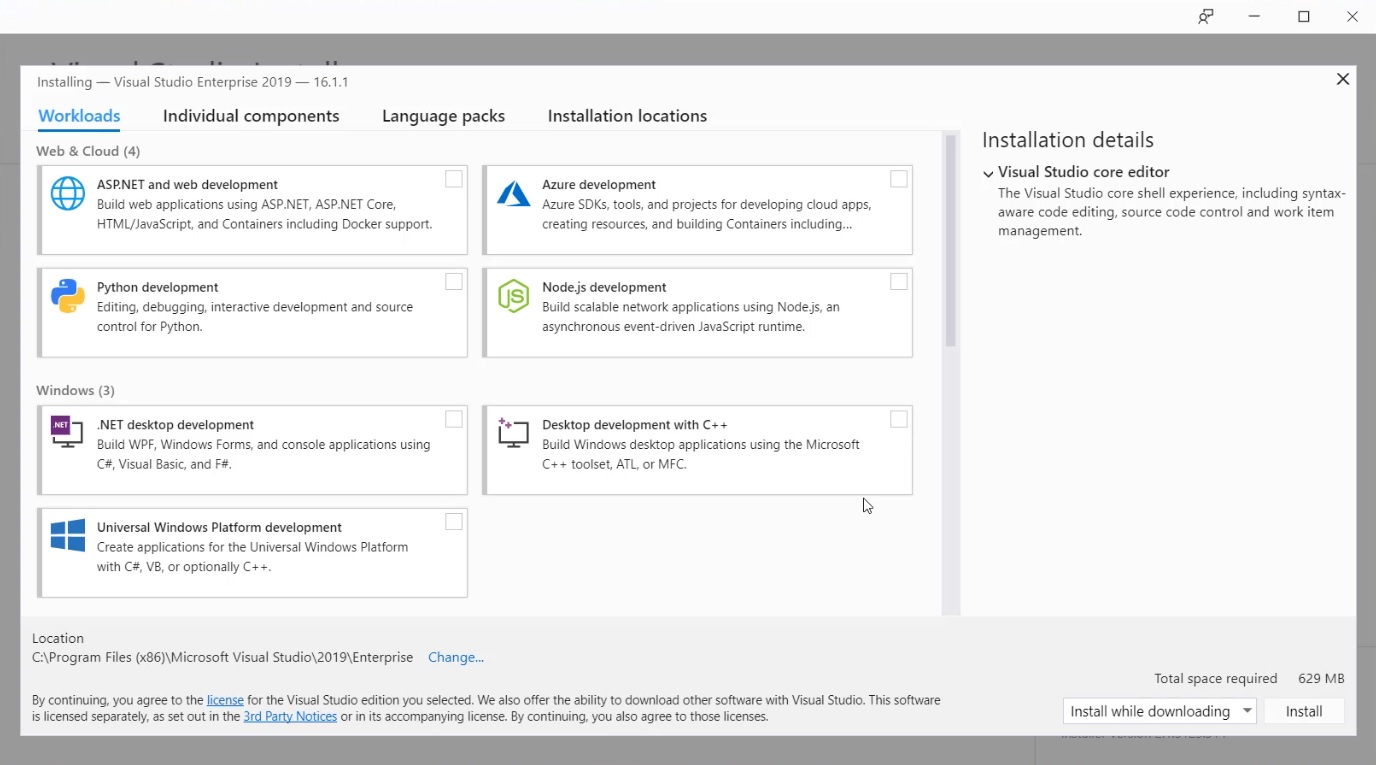
Once you have selected the components to install, you will see the disk space required.
Click on install to start the installation process. If you want to download the offline installer file, select download and then install before clicking install.
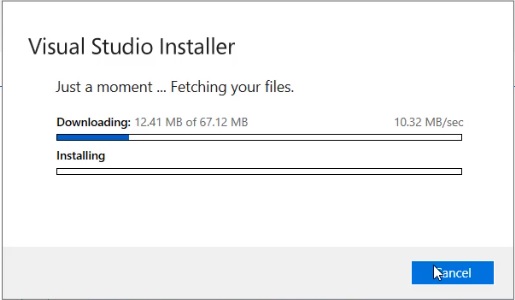
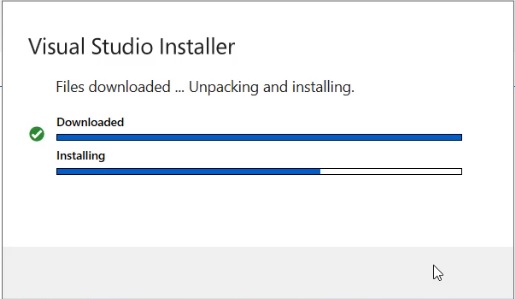
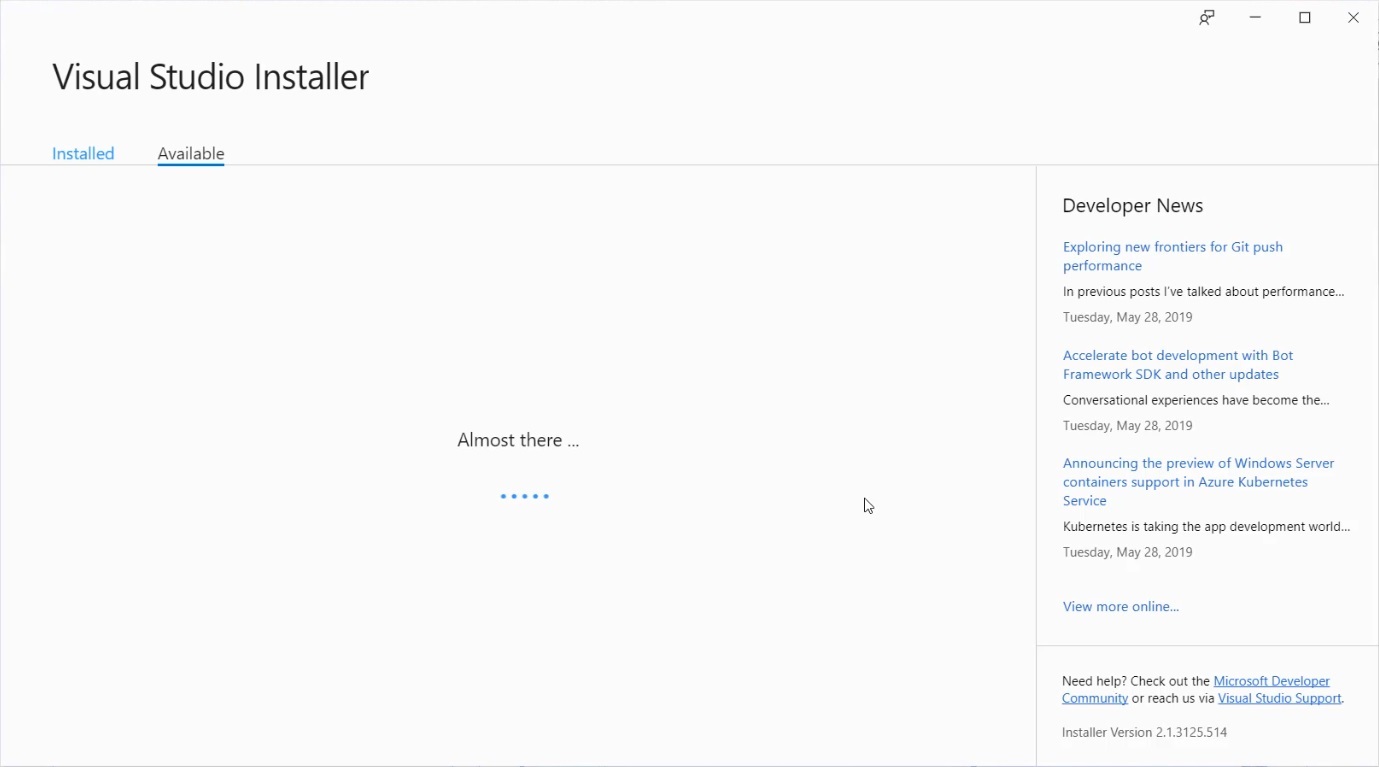
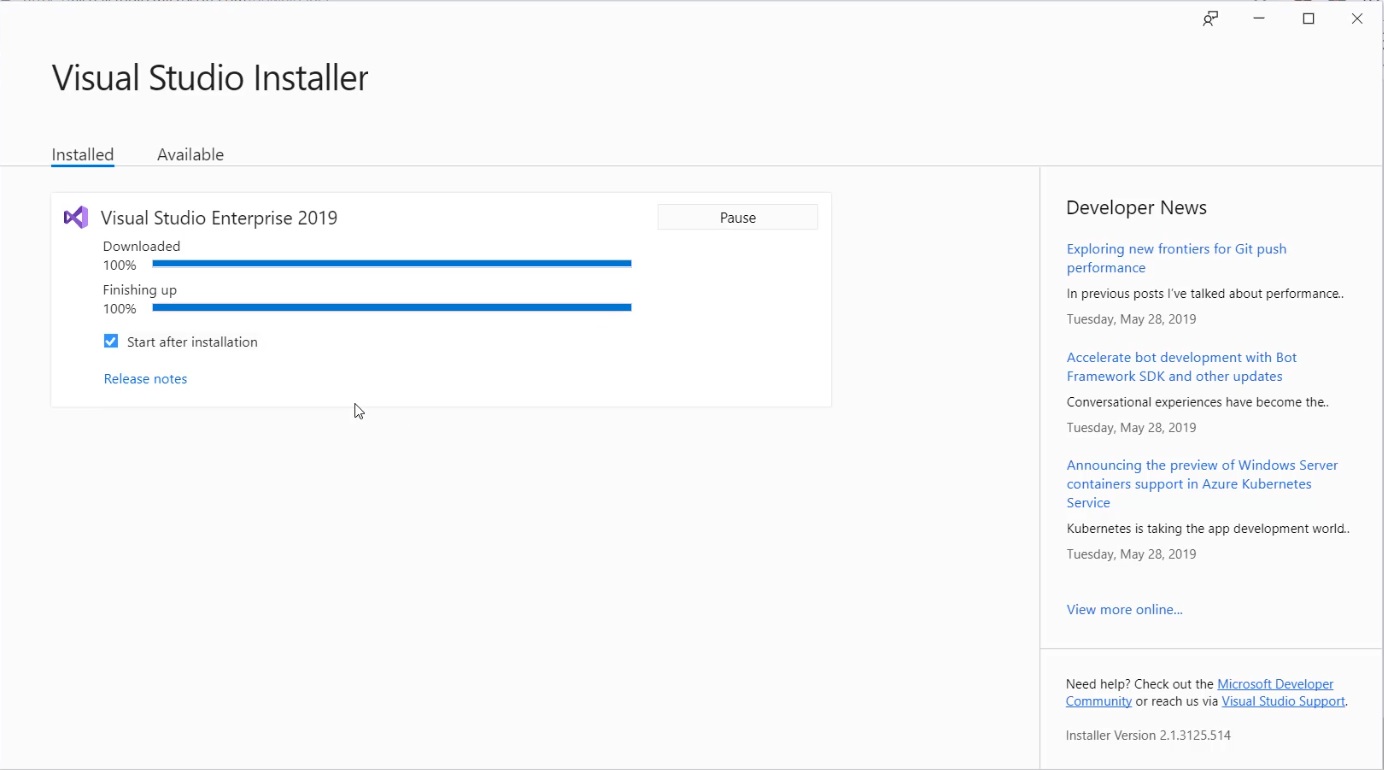
Wait for the installation process to complete. It will take a long time based on the components you have selected. if you select all the components, it will take around 2 hrs.

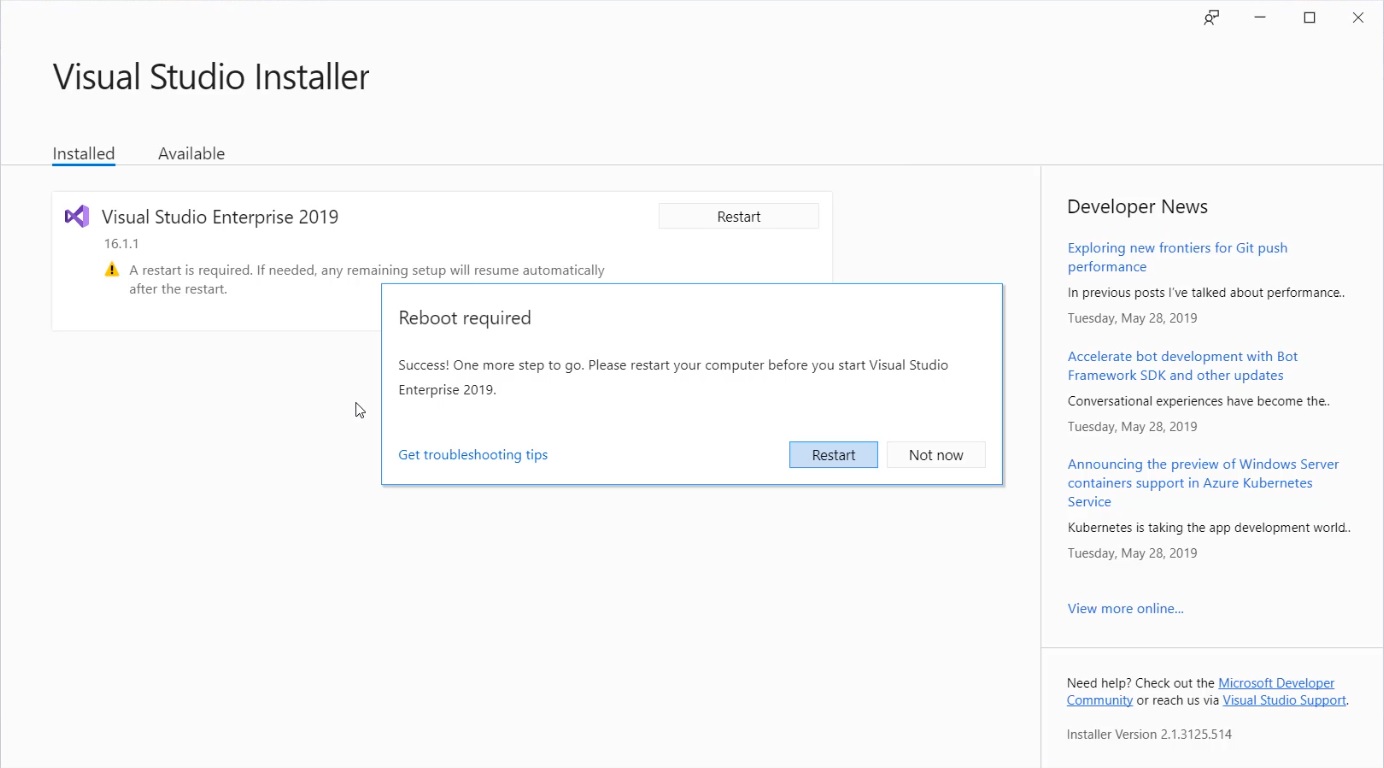
You will be asked to restart your computer after the installation completes.
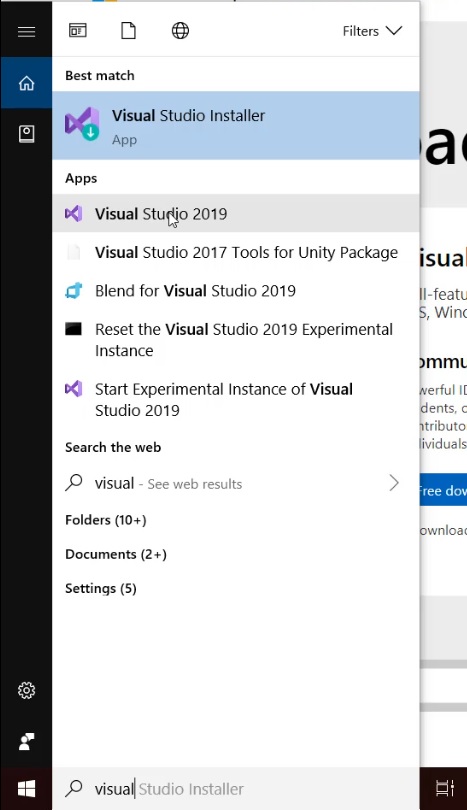
After restart, search for visual studio from start menu to launch Visual Studio 2019.
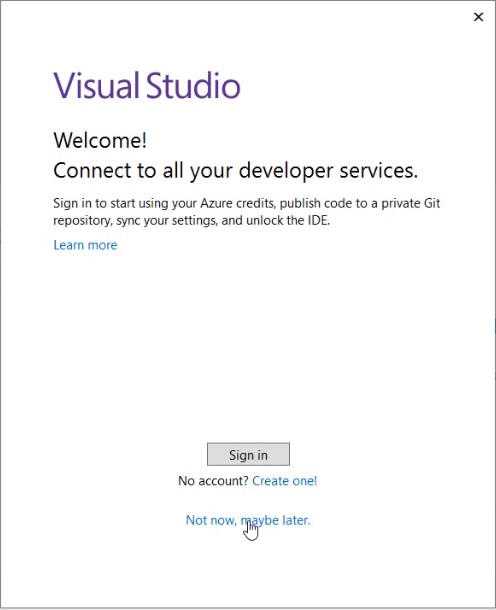
You will asked to sign in. Click on may be later for now to continue.
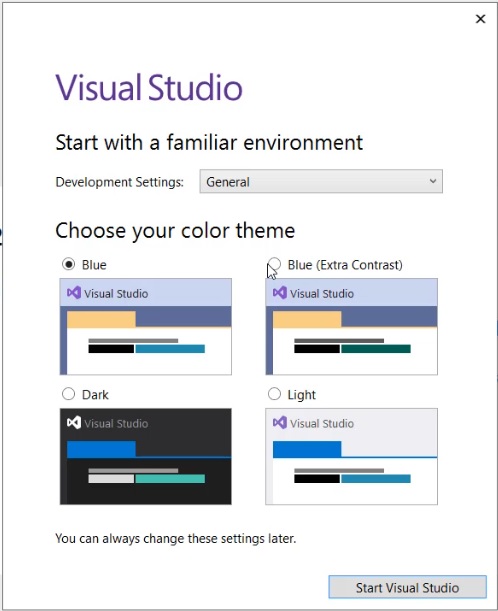
Now you will be asked to select the color theme. Leave it as it is and click on Start Visual Studio. You can change the color theme later on also from visual studio settings.
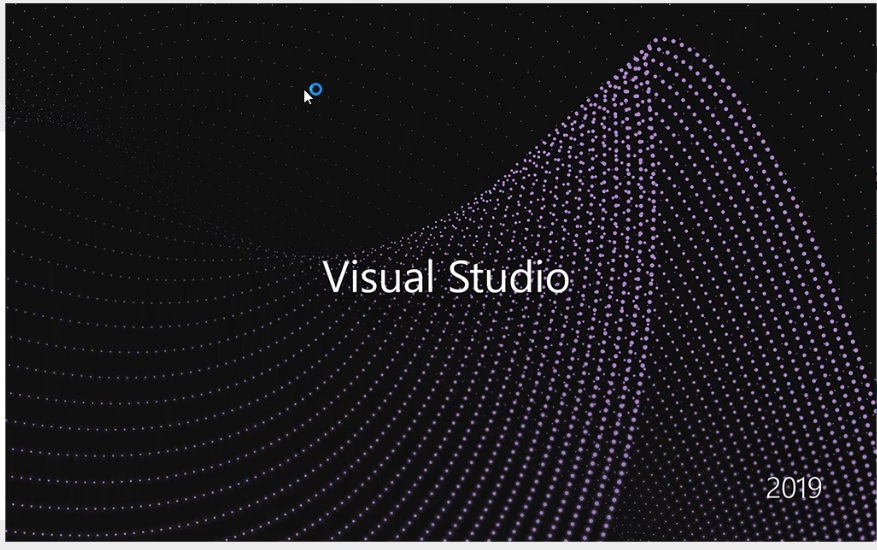
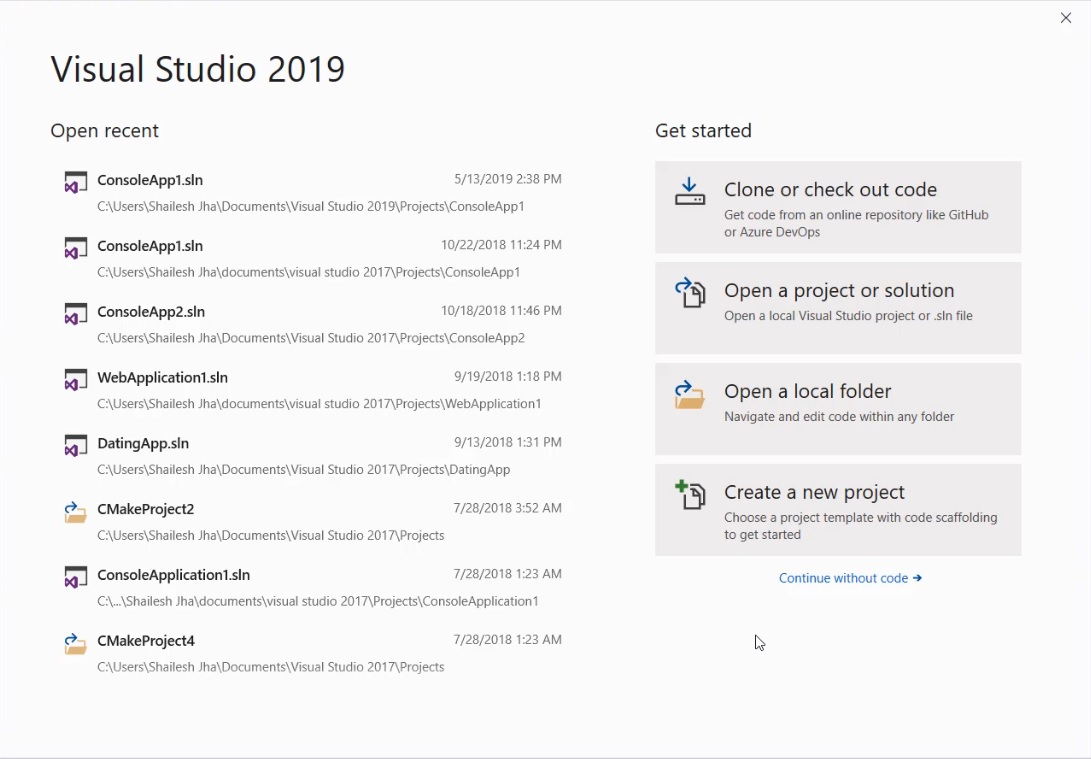
That’s it VS 2019 is installed. Now you can create a new project or open an existing one.
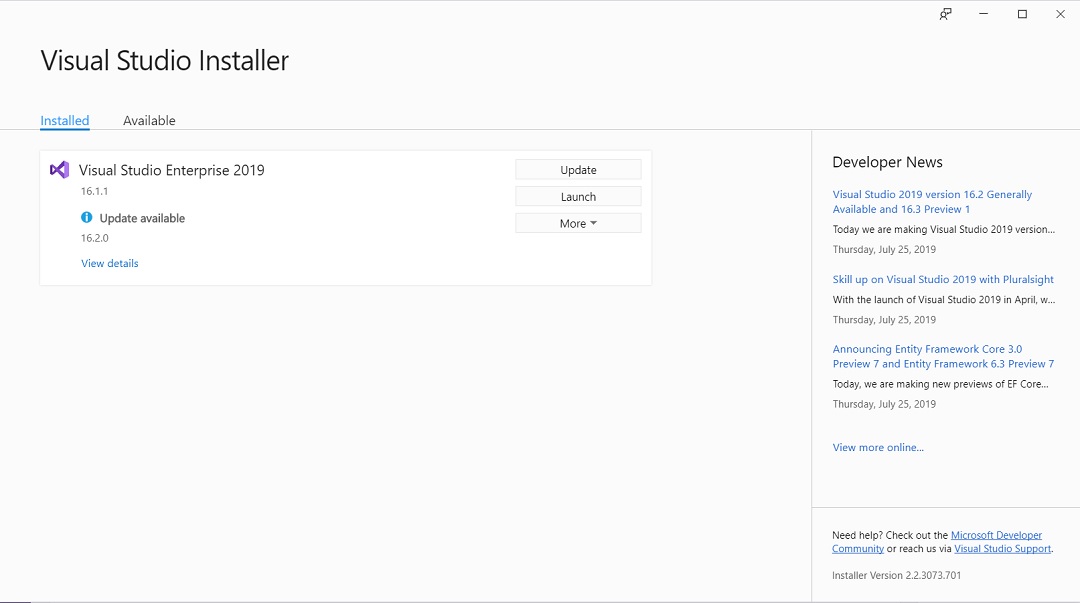
How to modify or update Visual Studio
To modify or update Visual Studio, for example remove or install a new component or just update VS 2019, open Visual studio installer from the start menu and check or uncheck the boxes based on your requirement and click on install to make the changes.
Activate Visual Studio
Google search for keys, you will get it.
That’s it. Thanks for visiting my blog.

Like👍👍👍
Microsoft Visual Studio Activations Keys
Verion Activation Key
Visual Studio 2019 * Professional:
• NYWVH-HT4XC-R2WYW-9Y3CM-X4V3Y
* Enterprise:
• BF8Y8-GN2QH-T84XB-QVY3B-RC4DF
Visual Studio 2017 * Test Professional:
• VG622-NKFP4-GTWPH-XB2JJ-JFHVF
* Professional:
• KBJFW-NXHK6-W4WJM-CRMQB-G3CDH
• 4F3PR-NFKDB-8HFP7-9WXGY-K77T7
* Enterprise:
• NJVYC-BMHX2-G77MM-4XJMR-6Q8QF
N2VYX-9VR2K-T733M-MWD9X-KQCDF
Visual Studio 2015 * Professional:
• HMGNV-WCYXV-X7G9W-YCX63-B98R2
*Enterprise:
• HM6NR-QXX7C-DFW2Y-8B82K-WTYJV
• 2XNFG-KFHR8-QV3CP-3W6HT-683CH
*Team Foundation Server:
• PTBNK-HVGCM-HB2GW-MXWMH-T3BJQ
Visual Studio 2013 * Professional:
• XDM3T-W3T3V-MGJWK-8BFVD-GVPKY
*Premium:
• FBJVC-3CMTX-D8DVP-RTQCT-92494
*Ultimate:
• BWG7X-J98B3-W34RT-33B3R-JVYW9
*Team Foundation Server:
• MHG9J-HHHX9-WWPQP-D8T7H-7KCQG
Visual Studio 2012 * Professional:
• 4D974-9QX42-9Y43G-YJ7JG-JDYBP
*Premium:
• MH2FR-BC9R2-84433-47M63-KQVWC
*Ultimate:
• YKCW6-BPFPF-BT8C9-7DCTH-QXGWC
• RBCXF-CVBGR-382MK-DFHJ4-C69G8
• YQ7PR-QTHDM-HCBCV-9GKGG-TB2TM
• MMVJ9-FKY74-W449Y-RB79G-8GJGJ
• YCFHQ-9DWCY-DKV88-T2TMH-G7BHP
*Team Foundation Server:
• BVGTF-T7MVR-TP46H-9Q97G-XBXRB
Visual Studio 2010 * Professional/Ultimate (built-in or below):
• YCFHQ-9DWCY-DKV88-T2TMH-G7BHP
Visual Studio 2008 * Express: Not required
* Professional:
• XMQ2Y-4T3V6-XJ48Y-D3K2V-6C4WT
• WPX3J-BXC3W-BPYWP-PJ8CM-F7M8T
• PYHYP-WXB3B-B2CCM-V9DX9-VDY8T
• WPDW8-M962C-VJX9M-HQB4Q-JVTDM
Visual Studio 2005 * Express: Not required
*Standard: Not required
*Professional:
• KGR3T-F2C26-RRTGT-D6DQT-QBBB3
Visual Studio v6.0 • 111-1111111
• 0123456789
• 1234567890