In this blog post, I will show you how to install Oracle VirtualBox 6.1.6 on Windows 10 along with Extension Pack. Oracle VirtualBox is a virtualization software that allows you to run multiple Operating system on your host operating system without having the need to dual boot your computer. VirtualBox supports both 32 bit and 64 bit version of the various operating systems currently available.
You can also view my video on YouTube on this topic.
Prerequisites
These days most of the processors, both from Intel and AMD comes with CPU based Virtualization technology. The advantage is that, CPUs with Virtualization Technology have new instructions to control virtualization. With them, controlling software (called VMM, Virtual Machine Monitor) can be simpler, thus improving performance compared to software-based solutions. When the CPU has support to Virtualization Technology, the virtualization is said to be hardware-based or hardware-assisted.
Both VMware Workstation and Oracle VirtualBox take advantage of Virtualization technology to improve performance. But with VirtualBox, to use CPU based Virtualization technology, Virtualization technology has to be enabled through BIOS for Intel based processors. Please refer to some of my post to know more about Virtualization.
- To find out if you computer supports Virtualization technology please refer to my post here.
- Please refer to my post which will show you how to enable Virtualization technology in Windows.
- On a related note, Microsoft provides its own version of Hypervisor or Virtualization application called Hyper-V. Please refer to my post to know more about it.
Supported Operating System on VirtualBox
Please visit the official page to find out the list of supported Operating Systems that can be Installed in VirtualBox.
Lets start:
Step 1 – Download VirtualBox
You can download VirtualBox from the official Oracle VirtualBox website. VirtualBox can be installed in Linux based operating systems such as Ubuntu, centOS etc., MacOS and Windows. Download Windows version from here as I will be using Windows 10 to install VirtualBox.
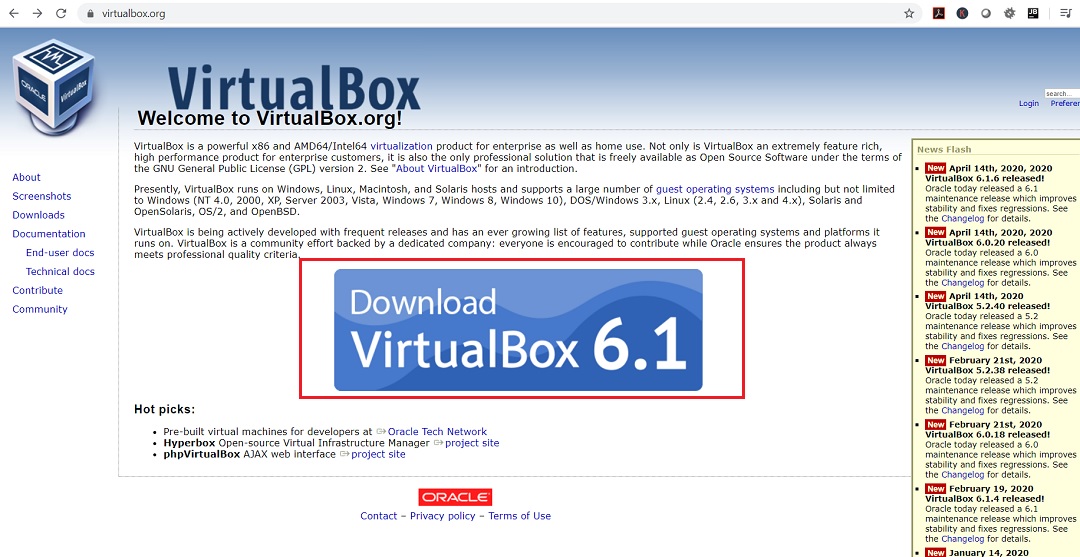
VirtualBox Web Page
The file size of VirtualBox installer for Windows is around 101 MB.
Step 2 – Start the Installation process
The file downloaded will have the file name format like VirtualBox-VersionNumber-BuildNumber-Win.exe. Something like this: VirtualBox-6.1.6-137129-Win.exe. Double click on the installer to launch the setup Wizard. Click on Next to continue.
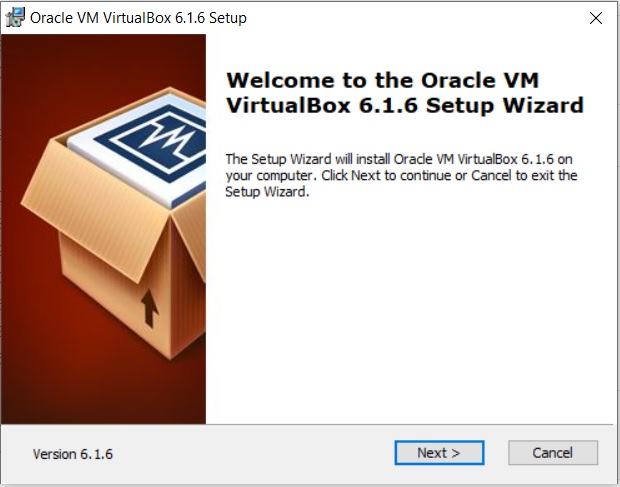
VirtualBox Installation – Setup Wizard
Step 3 – Custom setup dialog box
You will see custom setup dialog box. There is not much to choose from. You can accept the default and click next.
If you wish to change the installation directory, you van change it by clicking on the browse button and selecting the new directory and clicking OK. Normally I leave it as the default as the whole installation process does not take much space on your hard drive.
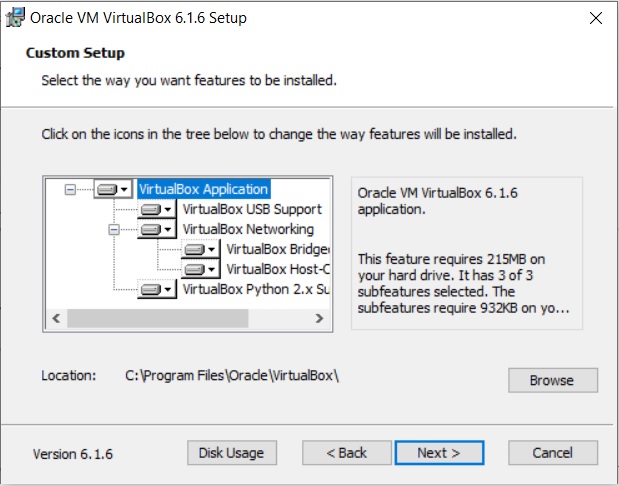
VirtualBox Installation – Custom setup dialog box screenshot
Step 4 – Custom setup dialog box – Feature to install
In this dialog box you can choose which features to install. As you can see, there is not much to choose. You can accept the default and click next. Normally I uncheck Create a shortcut in the quick launch bar and register file association.
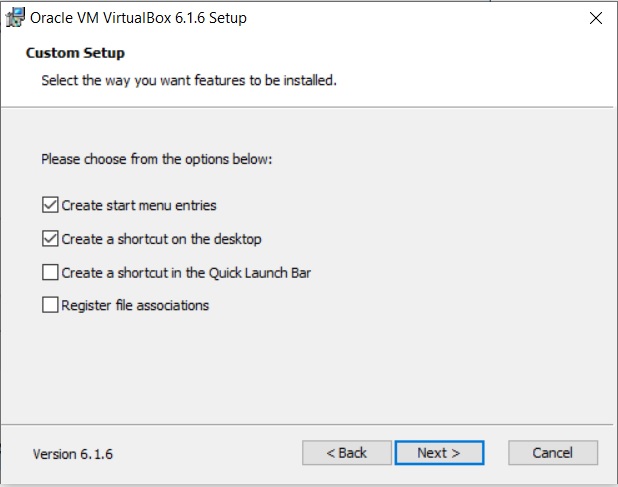
VirtualBox Installation – Custom Setup – Select feature to Install
Step 5 – Network Interface setup
This dialog box warns you about setting up a Network Interface. what this means that VirtualBox will install network interfaces that will interact with the installed virtual machines and the host operating system which in our case is windows. This will temporarily disconnect you from the internet but that OK, nothing to worry.
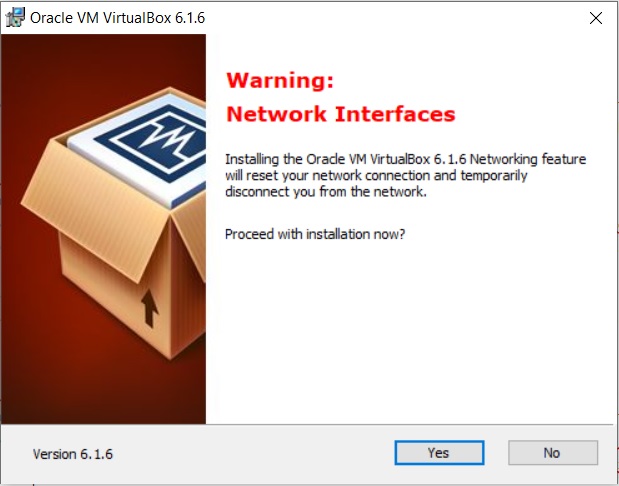
VirtualBox Installation – Network Interface warning
Step 6 – Ready to Install
You will see ready to install dialog box.
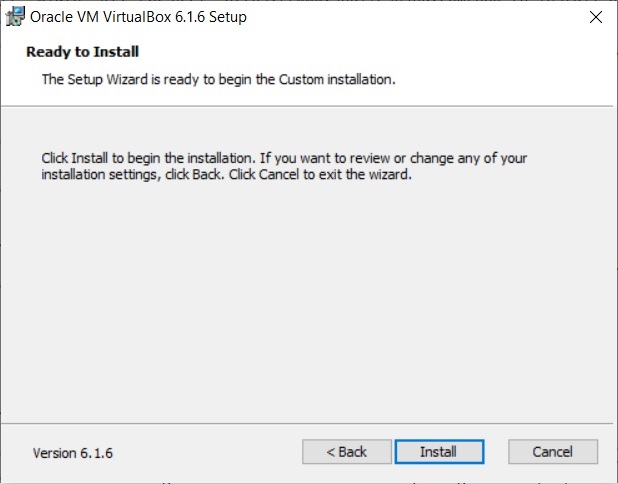
VirtualBox Installation – Ready to Install
Step 7 – Installation begins
After clicking install, you will mostly probably see User access control confirmation dialog box from Windows OS. This is a security feature in Windows that wants to confirm if the application should be allowed to proceed with the installation process. Click Yes to continue and you will see that the installation process will begin. Wait for the installation to complete.
If you see Windows User Account Control Warning, click yes to accept and continue.
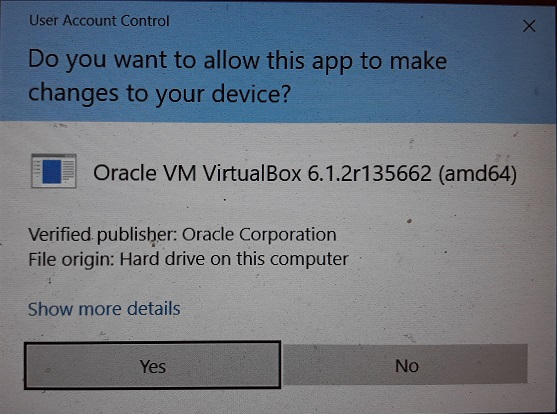
VirtualBox Installation – Windows User Account Control warning screenshot
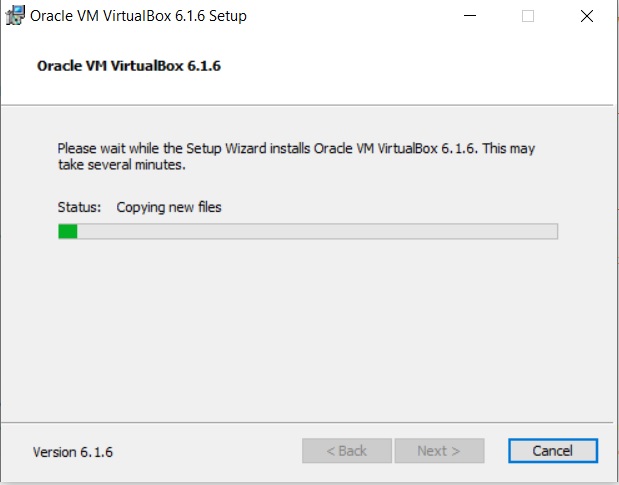
VirtualBox Installation in Progress
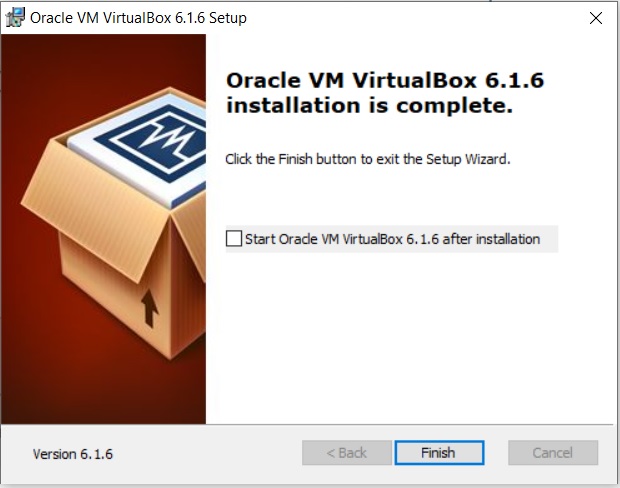
Step 8 – Installation Completes
After the installation completes, you will see installation completion dialog box. Click finish. If you leave Start Oracle VM VirtualBox after installation checked, VirtualBox will launch automatically. If you uncheck it, you will have to launch Virtualbox manually. Its not big deal anyways. Click finish to exit installation.
VirtualBox Installation complete
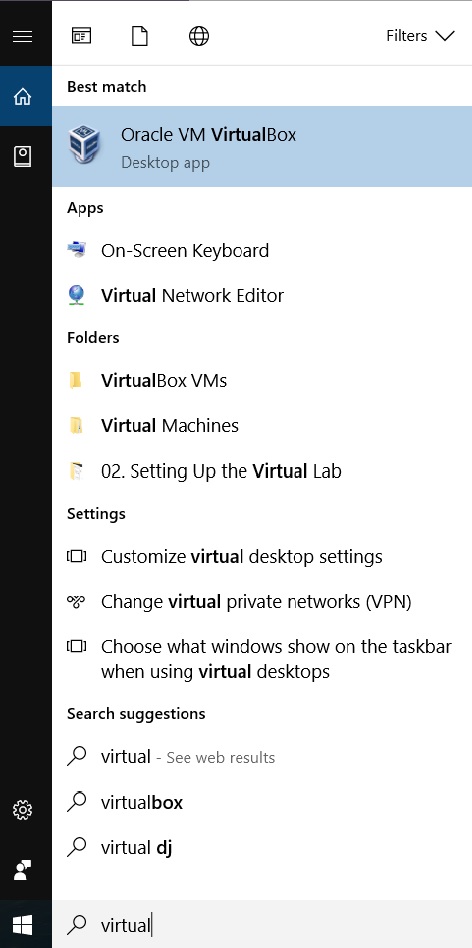
Step 9 – Launch VirtualBox application
Your newly installed VirtualBox is ready to go. You can search for VirtualBox in windows search in taskbar. You will see the VirtaulBox Icon on top. Click that to open VirtualBox.
VirtualBox Windows start menu search screenshot
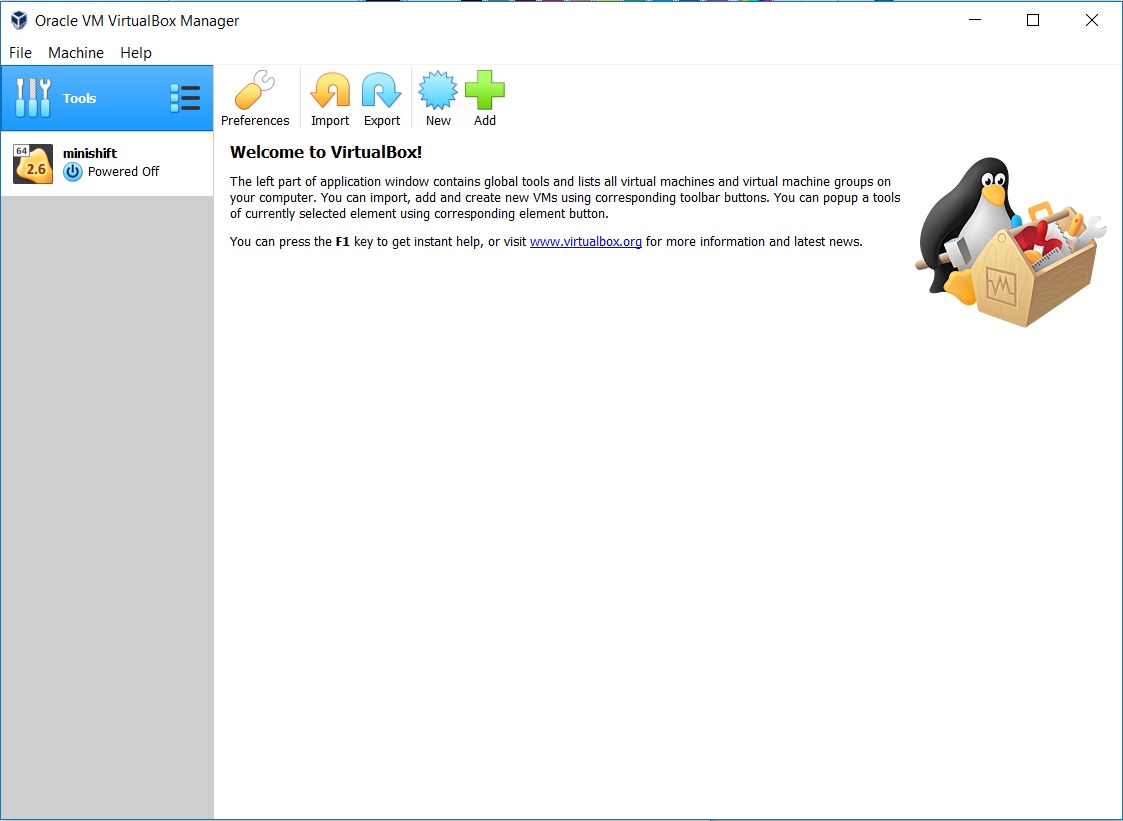
Oracle VM VirtualBox Manager
Step 10 – Install VirtualBox Extension pack
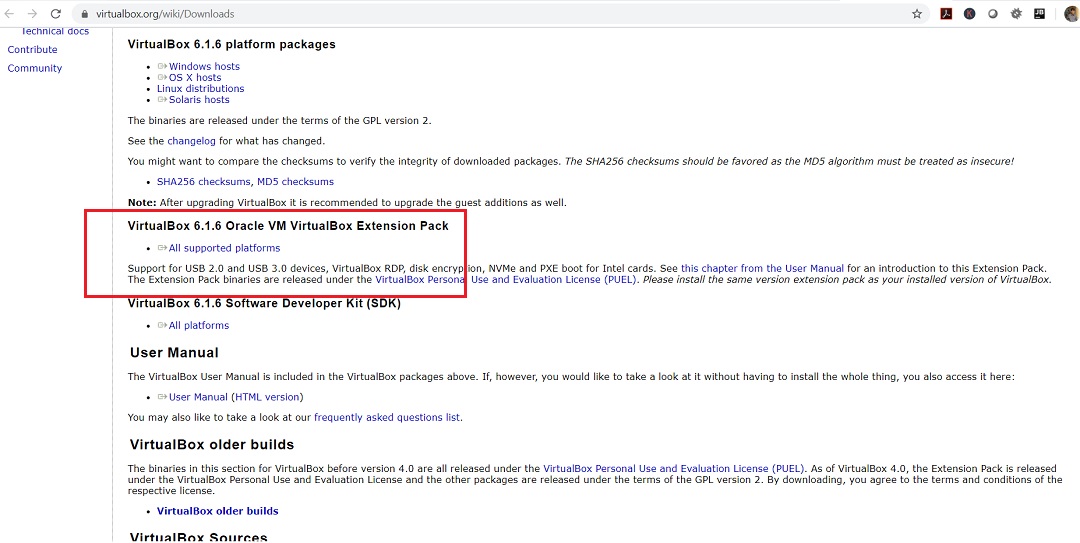
After the installation of VirtualBox is complete, please install VirtualBox Extension pack which will enable support for USB 2.0 and USB 3.0 devices, VirtualBox RDP, disk encryption, NVMe and PXE boot for Intel cards.
VirtualBox Extension pack can be downloaded from here. Look for extension pack on the page, click on all supported platform to start the download process. The name of the file will be something like Oracle_VM_VirtualBox_Extension_Pack-6.1.6.vbox-extpack and around 10.5 MB in size.
VirtualBox – Download Extension Pack
To install extensions pack, open VirtualBox, go to File -> Preference -> Extensions -> Add new package (click on the + sign and browse to the downloaded file) and click Install.
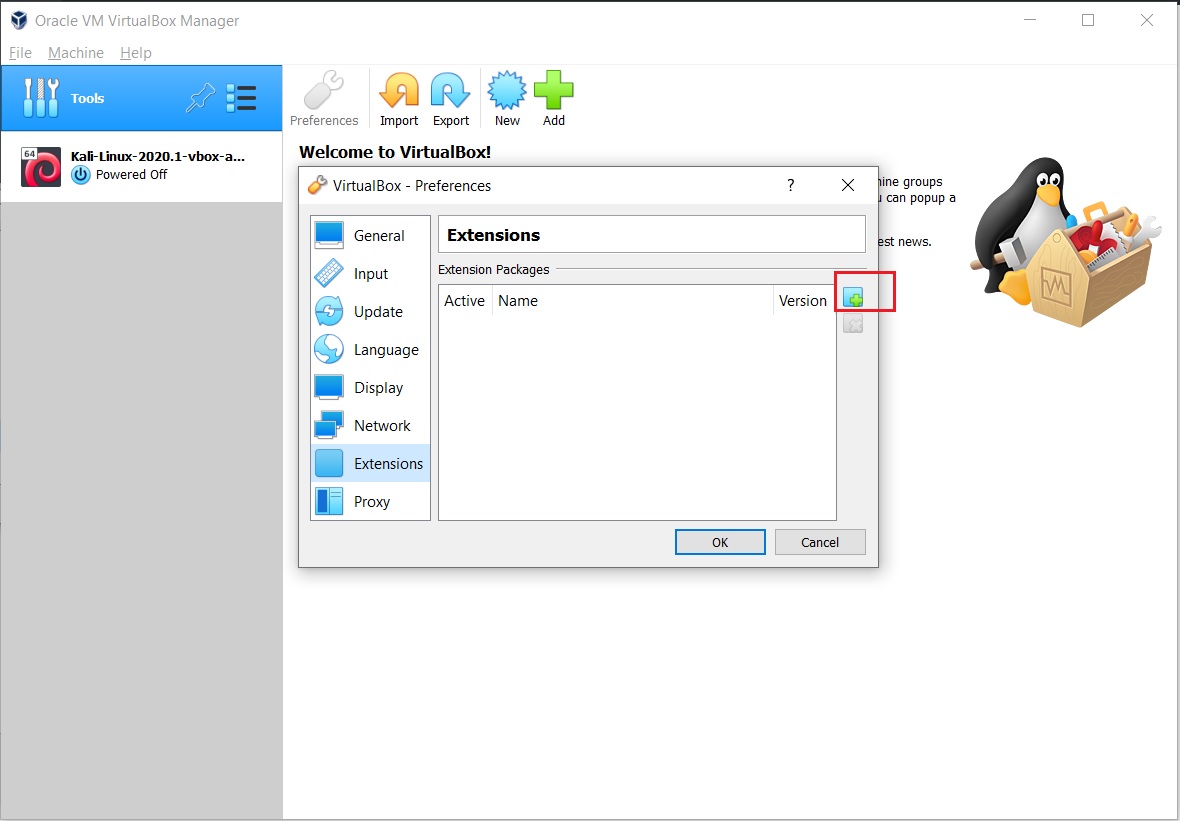
VirtualBox – Preference – Extensions
Installation will start, wait for the process to complete.
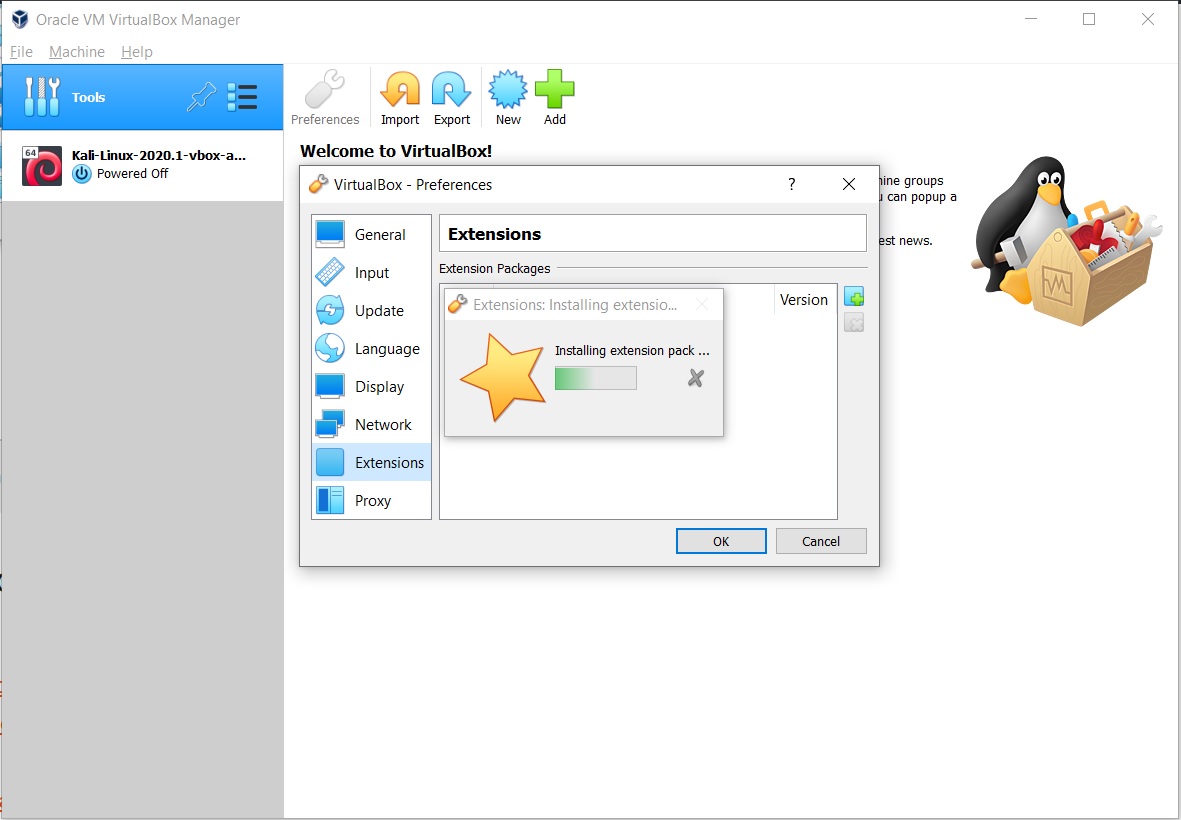
VirtualBox Extension Pack installation in progress
You will see installation complete message. Click on OK to exit.
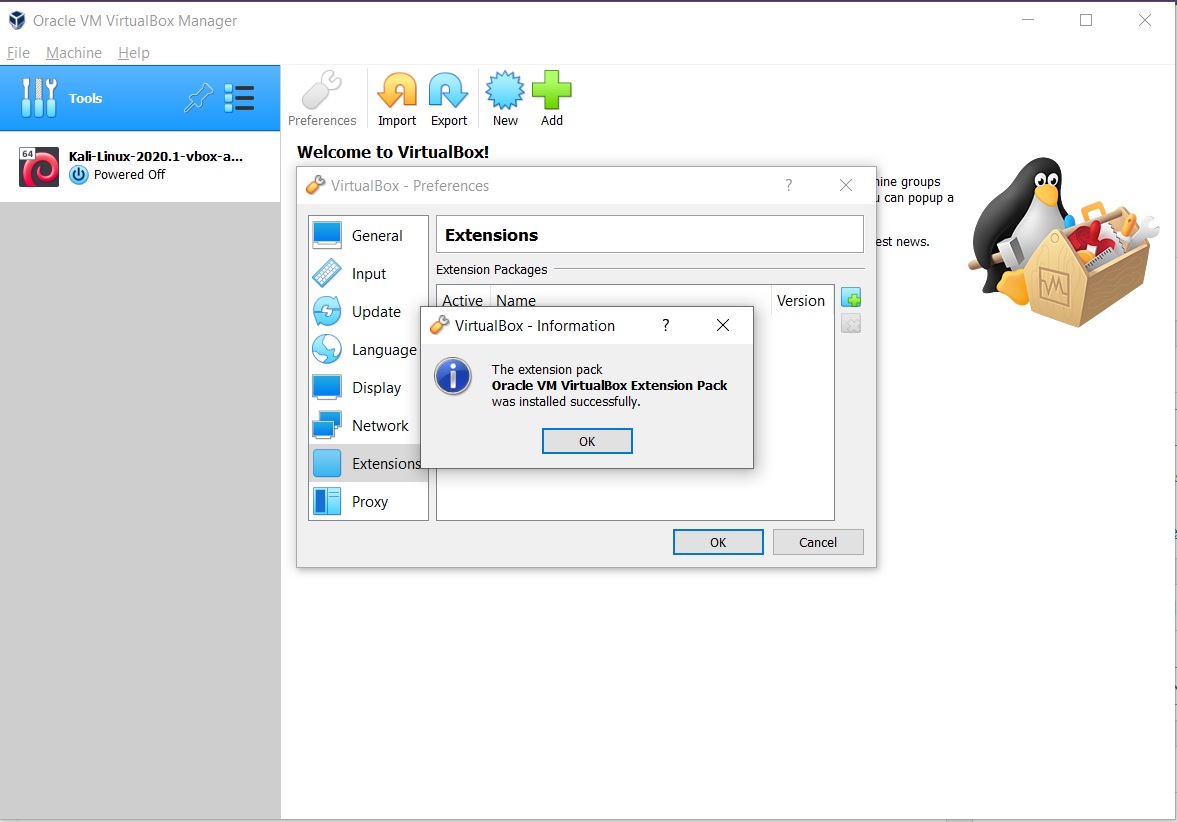
VirtualBox Extension pack Installation – success message

I went through the instructions and was able to install VirtualBox with the extension pack without issue. Thanks for the help and links to the proper software.
Installation done. Thank you
i have installed virtual box 6.1.18 but when trying to install guest addition i cant, pls help.
This is very informative. Very detailed. Thank you very much.